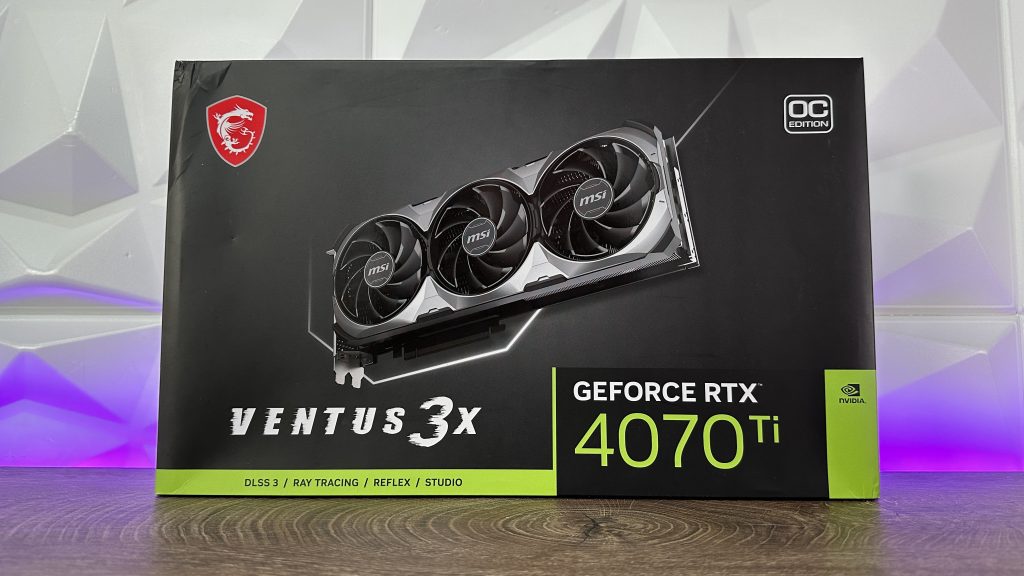
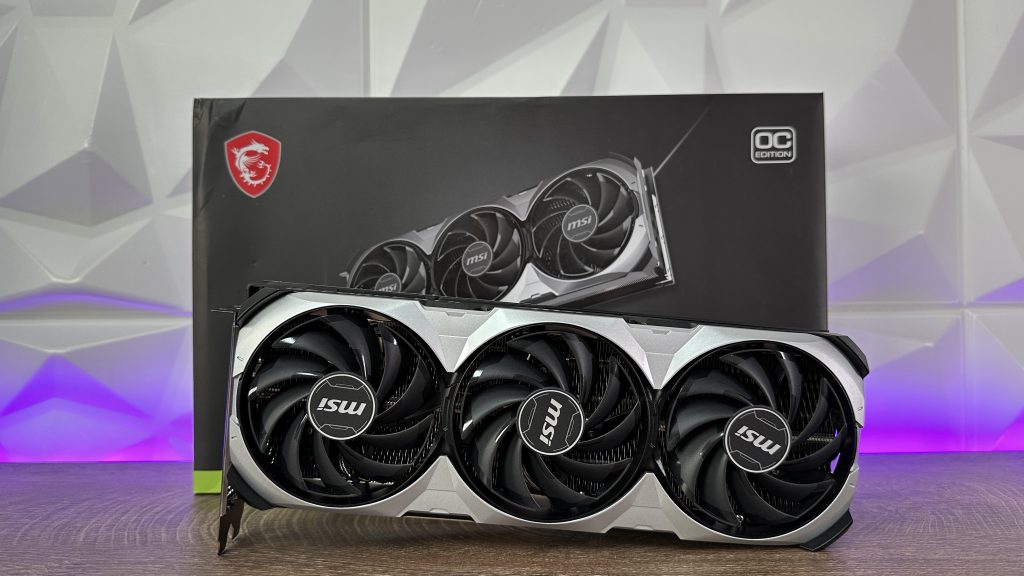
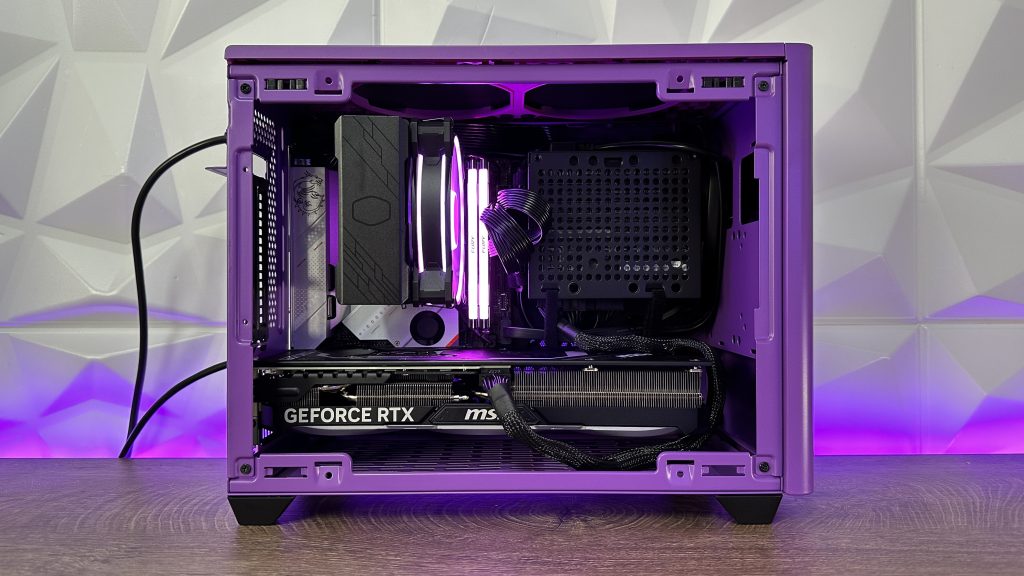
When it comes down to ITX builds and RTX 4000 Series graphic cards, it has been a challenge to place those chunky cards inside. It was either the length, width or even height. But inside the NR200P case from Cooler Master we managed to squeeze in MSI GeForce RTX 4070 Ti VENTUS 3X. It isn’t the smallest RTX 40 Series cards, but definitely not the largest one. There also is one thing that comes in question and that is the power supply. Will an SFX power supply be able to power up the new generation of graphic cards. In that terms, Cooler Master added something recently to their portfolio that can manage even up to RTX 4090 without breaking a sweat. By that, we will use Cooler Master V1100 SFX Platinum fully modular power supply. So let’s start.
Cooler Master NR200P
This case has been on the market for a while and with the new additions, it has changed but just a bit. Nothing drastically, but also only in good terms giving us a nice access for placing an RTX 40 Series card in the right dimension.
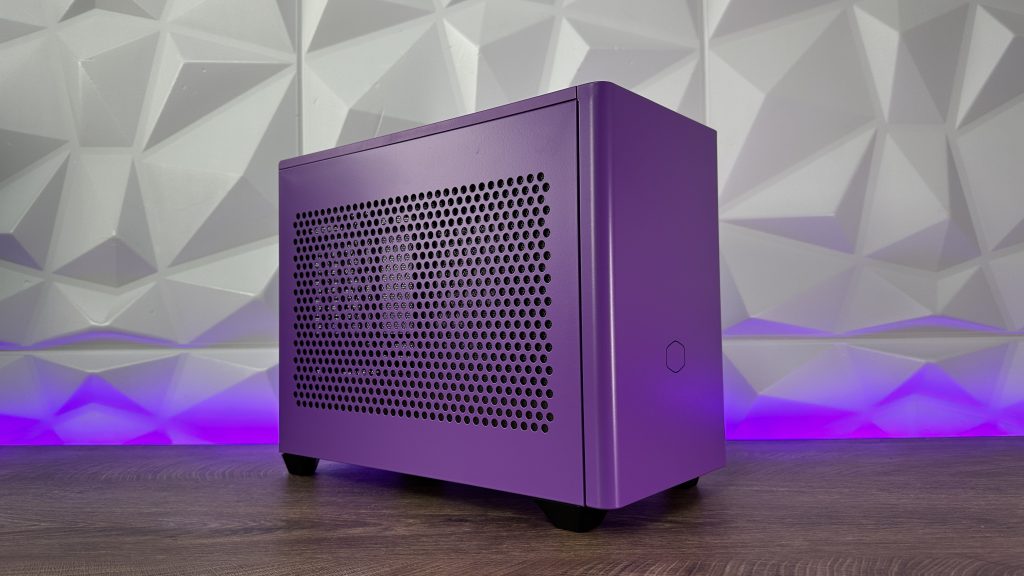


The outter design is literally the same with both side panels coming with perforated steel panels, but not small enough to block the dust so in those terms we have two magnetic dust filters. Possibility to place the graphic card vertically is still here as well as 3 slot graphic card placement in the horizontal position. In addition to everything, if you decide not to use the additional tempered glass that comes with the case, you can leave the side mount for the radiator and place it like so giving you 240mm radiator AIO cooling on the processor while the graphic card stays in the horizontal position. This doesn’t bother the processor block, because you have enough space to mount on right behind the radiator and the fans (just don’t go with thick radiator).


All panels are easily removed since they are connected to the case with pegs which aren’t thin so you don’t have to worry about breaking them while removing the panels. The same way you place the additional tempered glass on the side, by placing the bottom part on the hinges and top two pegs insert inside the case.


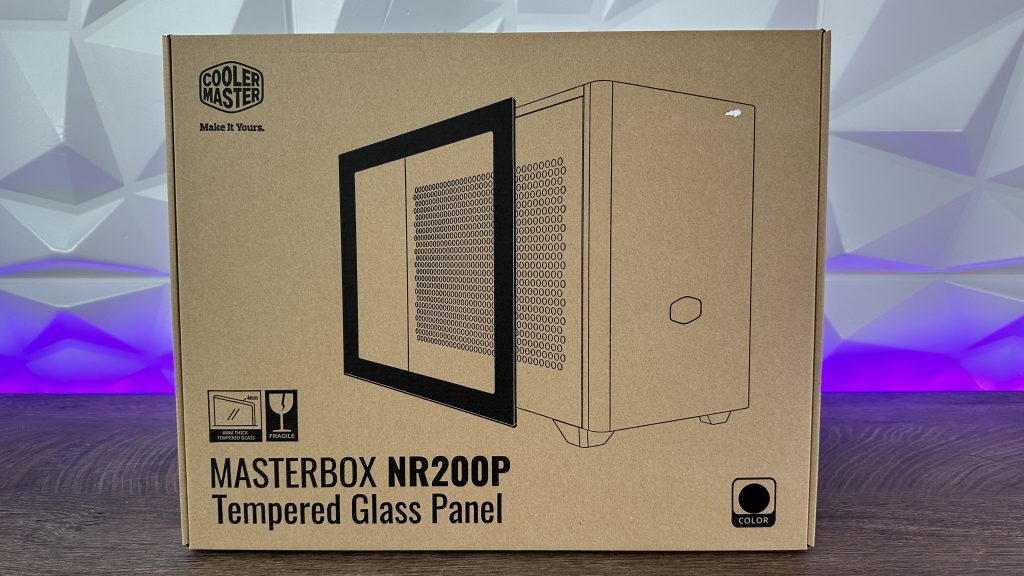

Accessory box for MasterBox NR200P is quite simple yet makes this small form factor case nicely packed. Apart from the already mentioned tempered glass, we have two additional PWM 120mm fans with cable blockers, PCIe 3.0x 16 riser cable and loads of zip ties with screws to tie up the motherboard to the chassis or anything else that comes in mind.
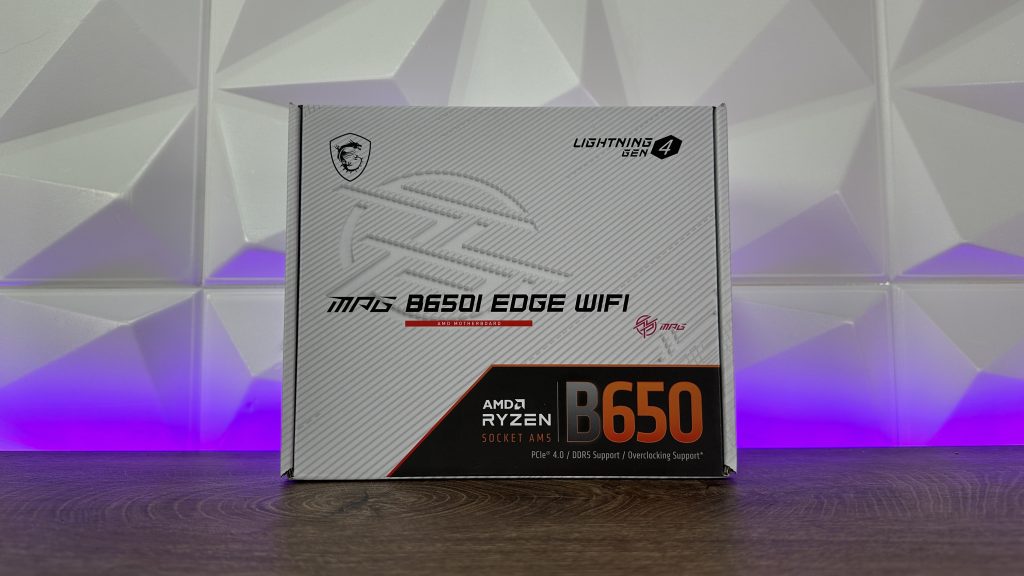
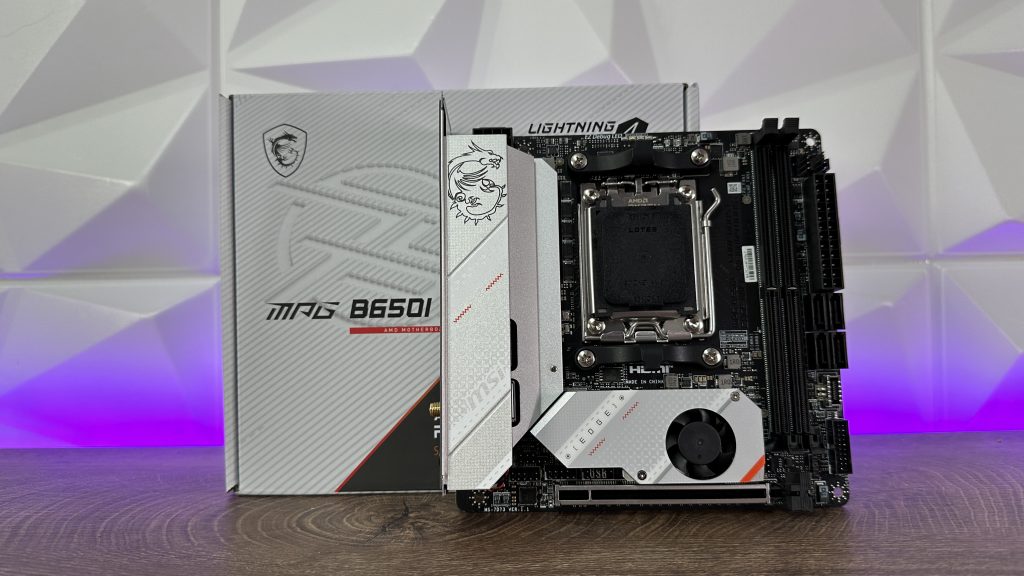

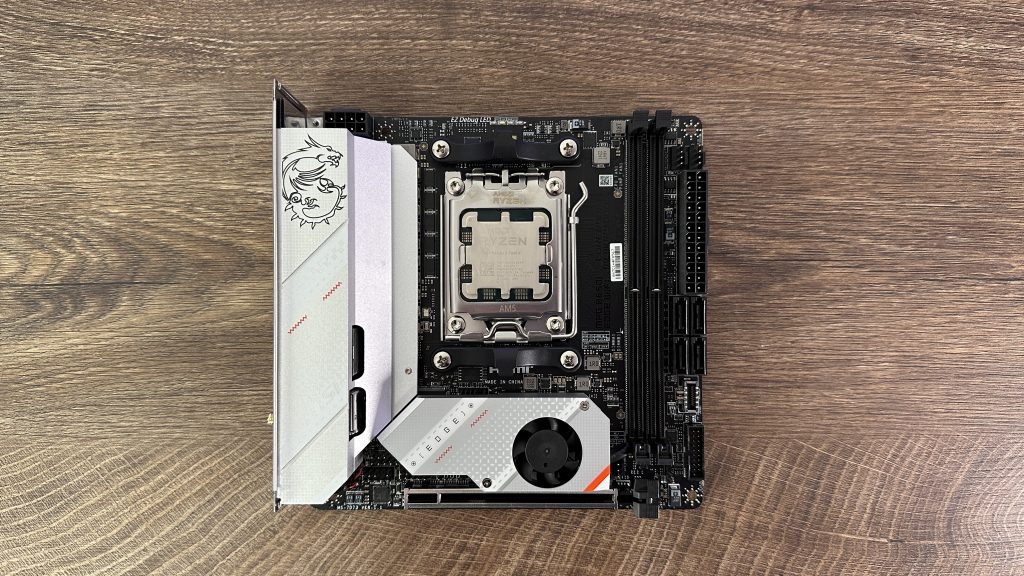
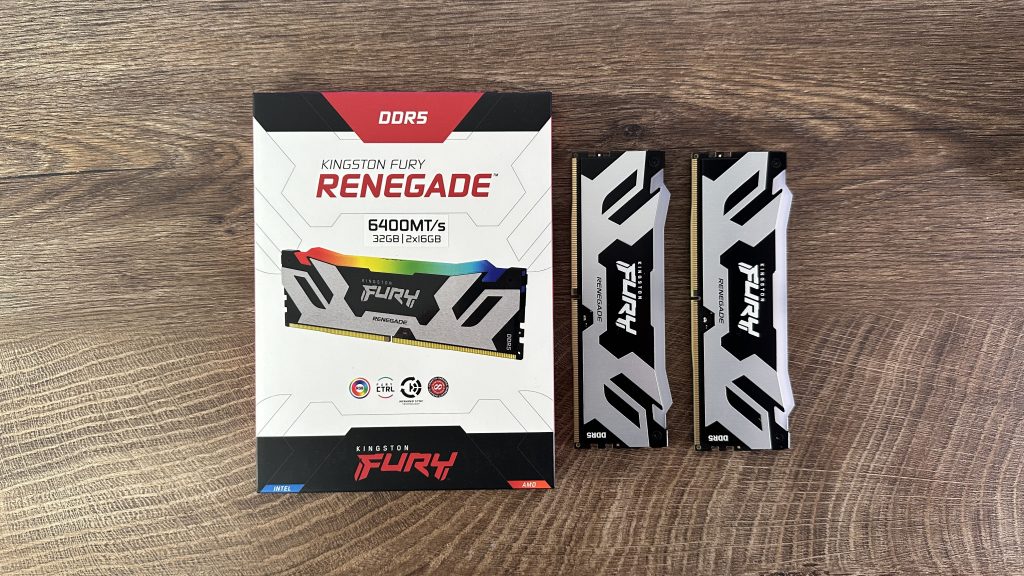
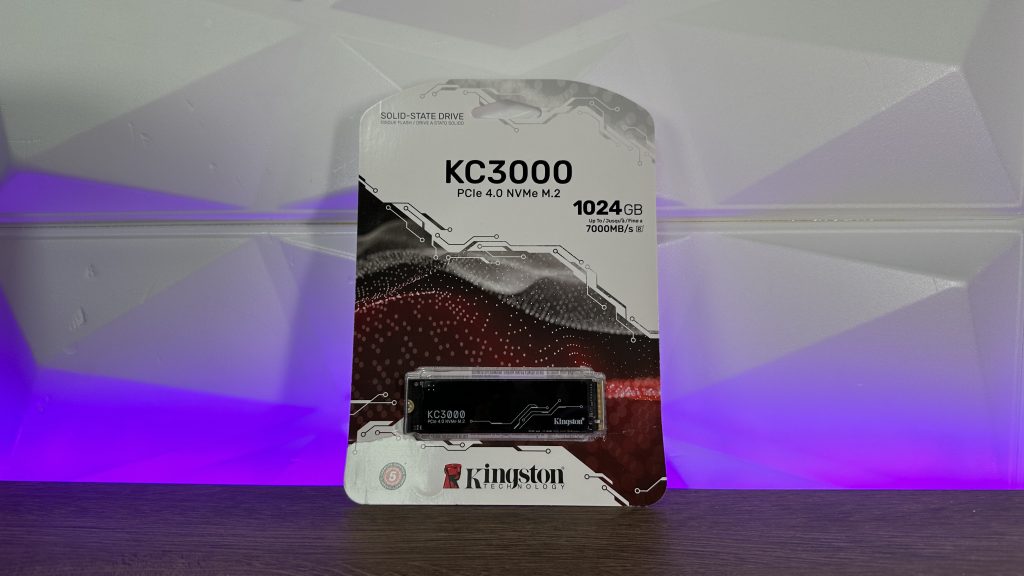
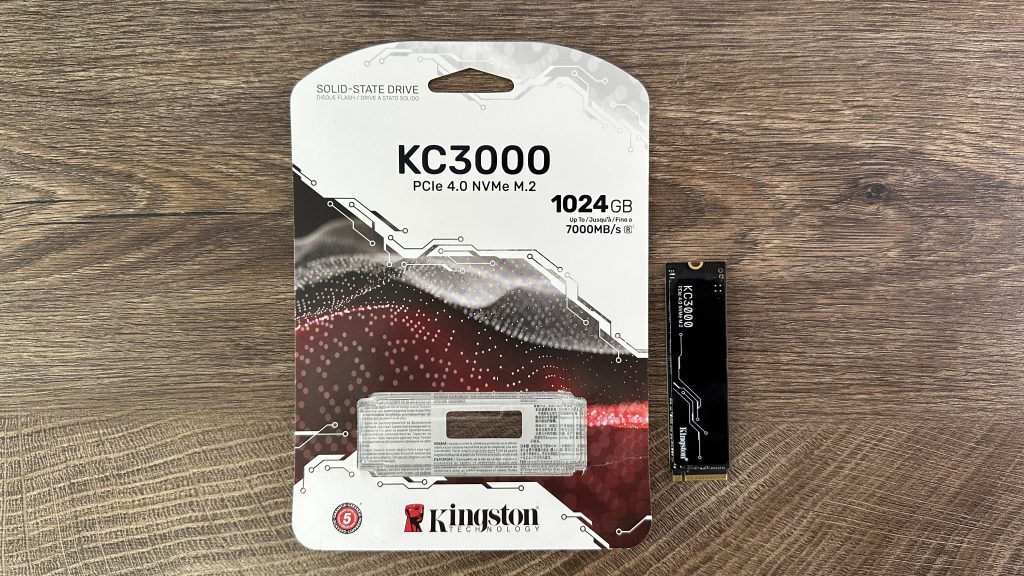
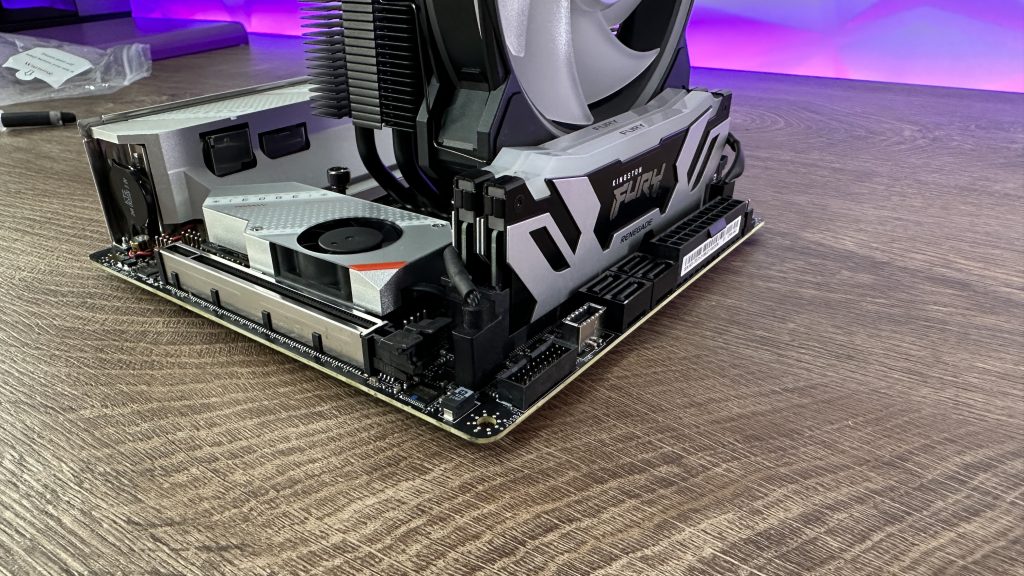
For this build, or project, we will be using MSI MPG B650i EDGE WIFI motherboard paired up with AMD Ryzen 5 7600X and Kingston FURY Renegade RGB DDR5 2x 16GB on 6400MHz. Also, since we are just here for testing and not for actual constant usage, Kingston KC3000 Gen4x4 M.2 SSD with 1TB of storage will suffice.
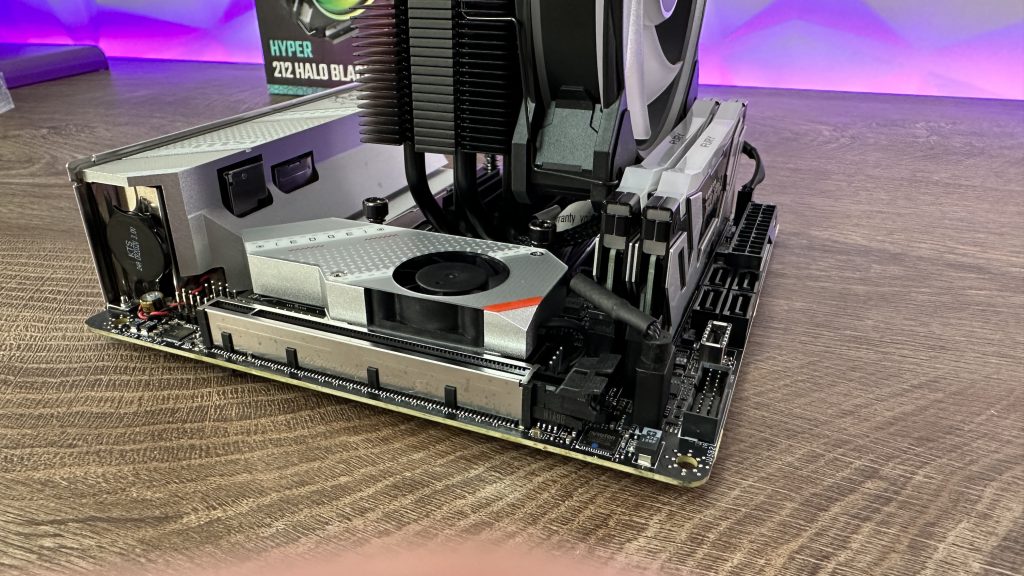
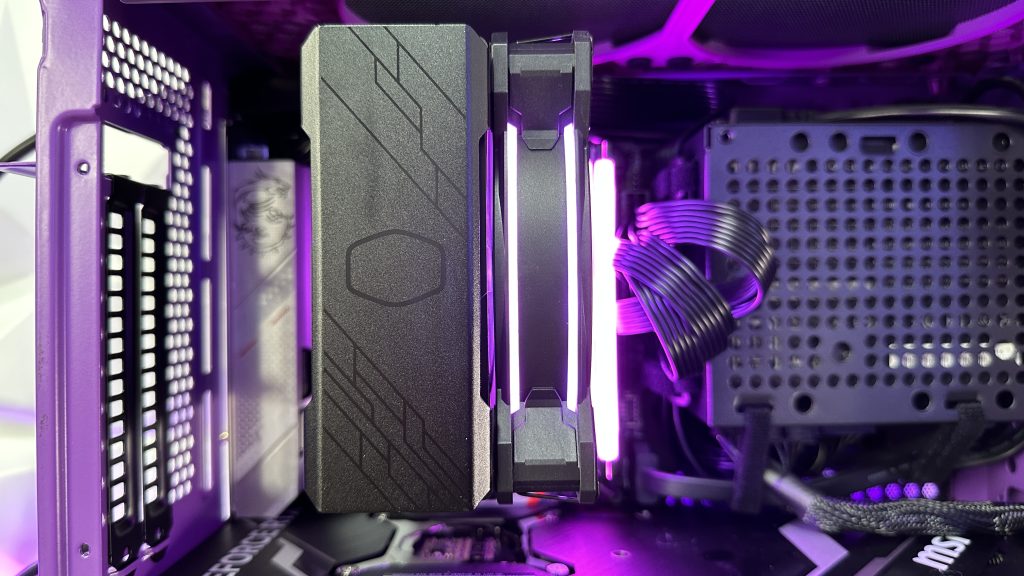
Cooler Master HYPER 212 HALO BLACK
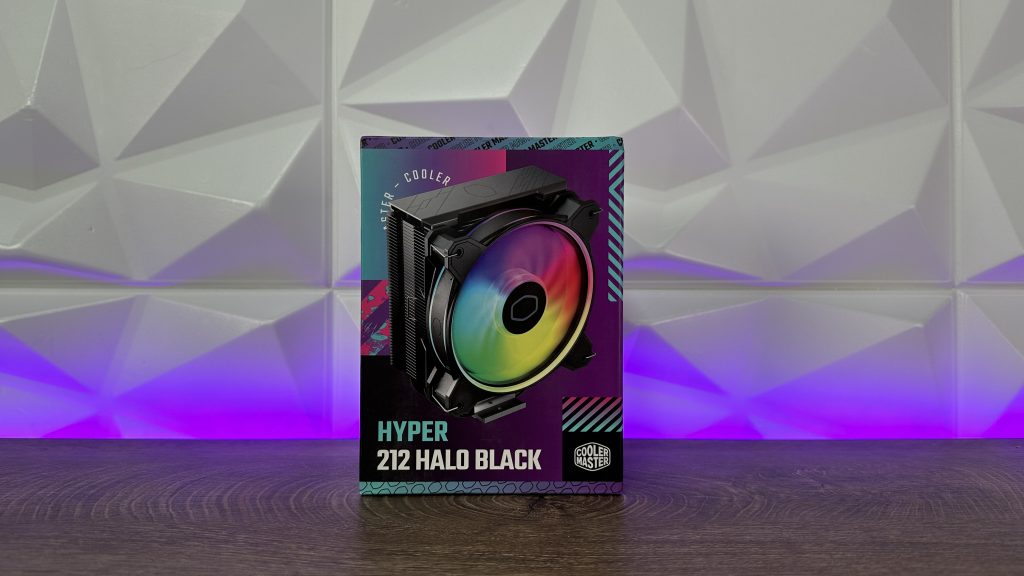


Next up is the CPU tower cooler which will be used to cool down or raise the performance of the AMD Ryzen 5 7600X. This is Cooler Master Hyper 212 HALO BLACK which definitely looks outstanding if we take into consideration the past models of this cooler. Great looking front cover with nice stylish black design where in the middle you have a nice subtle Cooler Master logo. Four heat pipes going through the passive heatsink with Direct Contact Technology should be effective enough to grab that extra performance from the processor, but we will get to that part later on in the article. Also, blowing through the passive heatsink is the redesigned HALO2 fan with dual loop LED for oustanding lighting effects if you decide to go with tempered glass side panel. On the note of the height, you don’t have worry because it fits just right inside the NR200P.

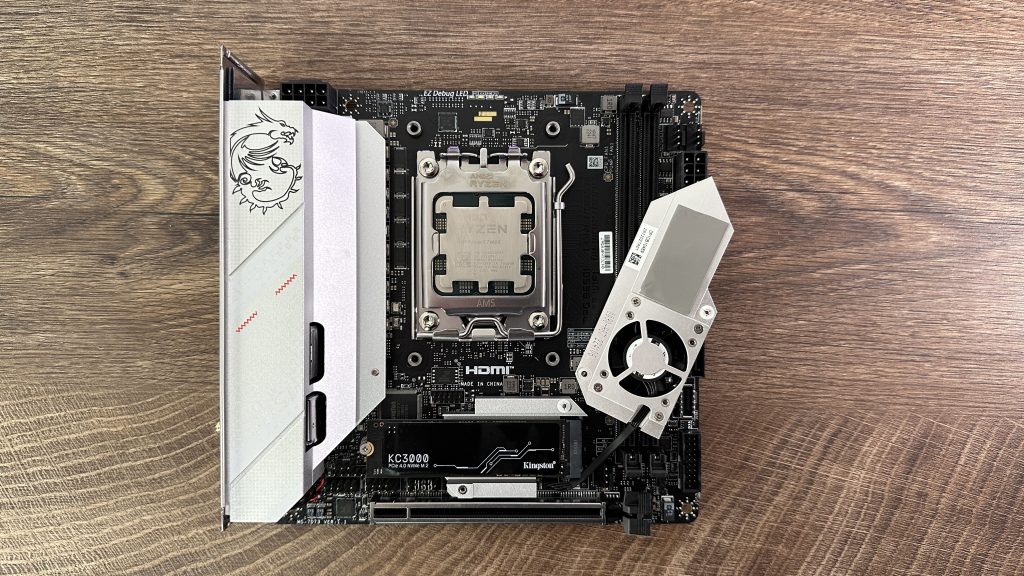

We all know how this part goes, but simply place the processor on the motherboard removing the plastic socket cover afterwards, place the M.2 SSD removing the passive heatsink with fan (depending on your motherboard), apply thermal paste and most importantly, remove the protective foil from the cold plate of the HYPER 212 HALO BLACK. Otherwise, no cooling for you but mistakes happen.

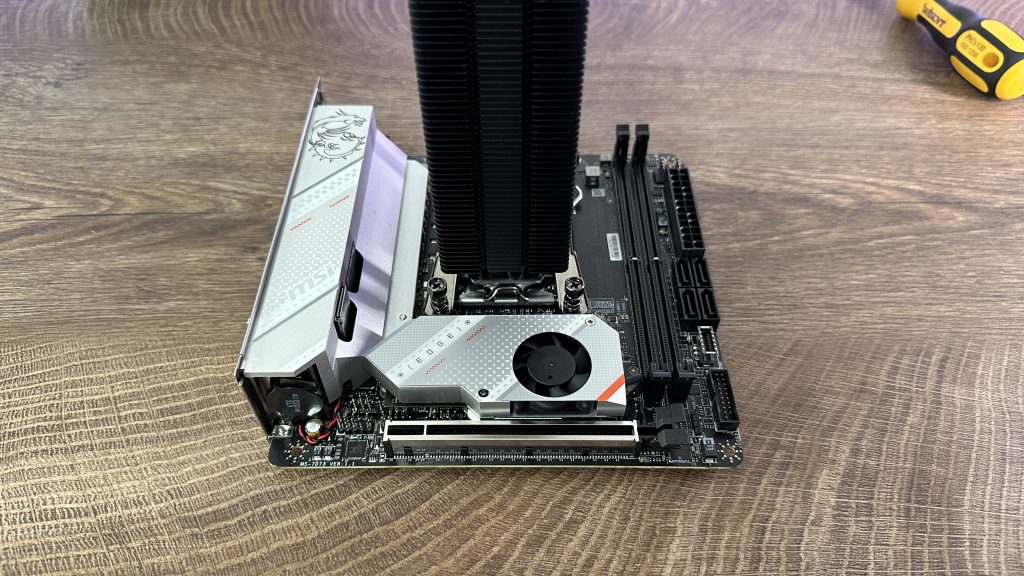

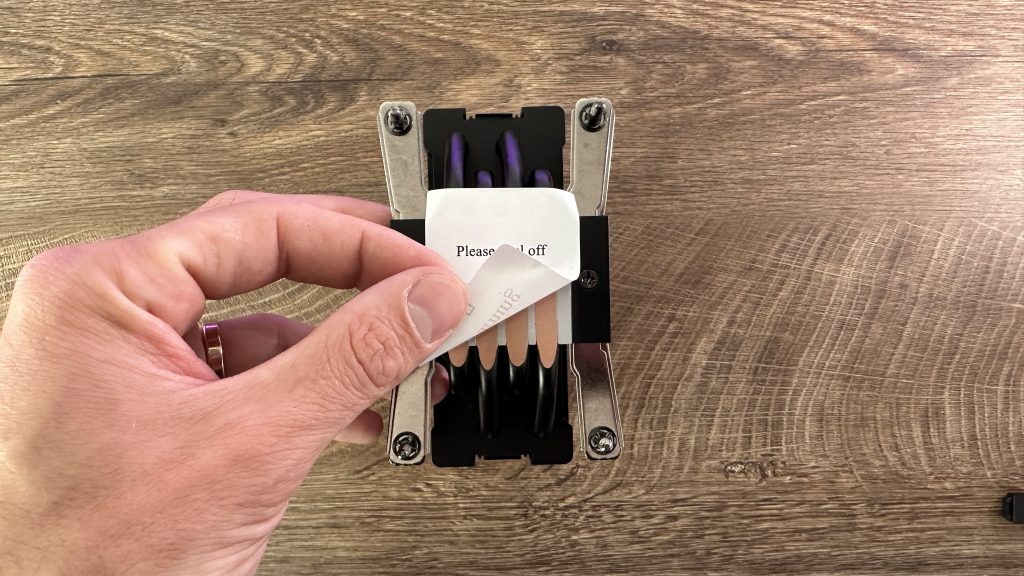
For placing the the Hyper 212 HALO BLACK on AM5 socket, you do need to remove the original plastic latches from the motherboard which will open up 4 threads that the CPU tower cooler will use to attach to the motherboard and cool down your processor. Attach the tower holders with one screws on each side of the CPU cooler which will give you a possibility to tie up the cooler to the motherboard with 4 thumbscrews, but I do suggest using a screwdriver. Tie them up diagonally and evenly so you don’t overtighten one side compared to the other which might result in damaging the cooler or breaking the screws.
After placing the passive heatsink on the motherboard, add two hangers on the HALO2 fan and attach it to the right side of the cooler. Connect the PWM header from the fan to the motherboard and finally add those nice looking DDR5 memory modules.
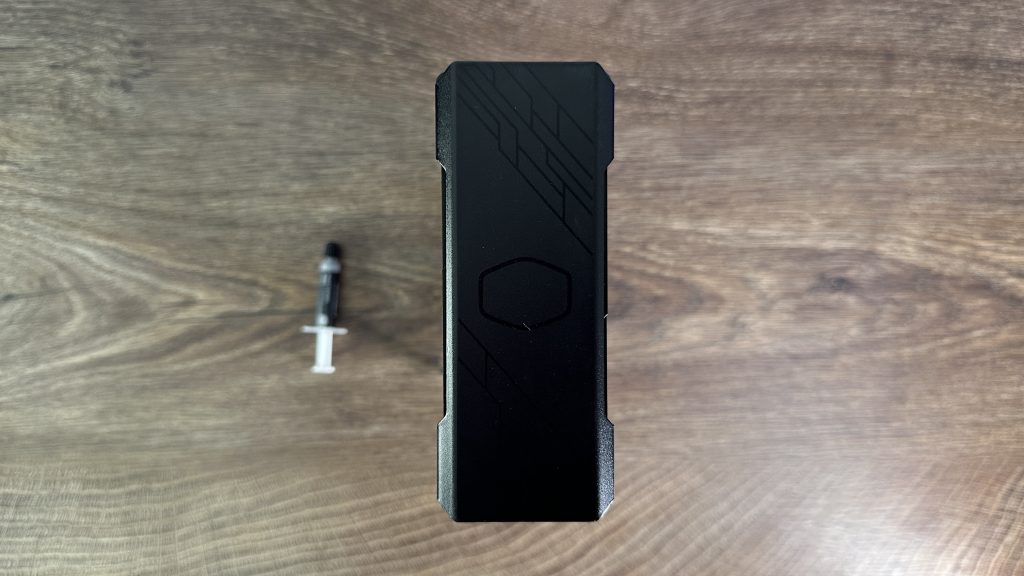
Cooler Master V1100 SFX Platinum

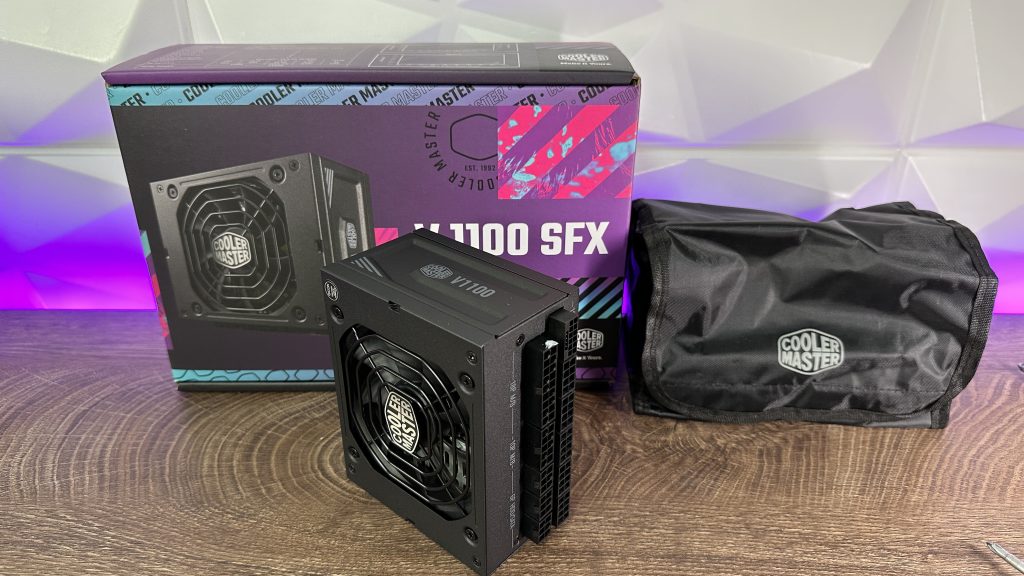


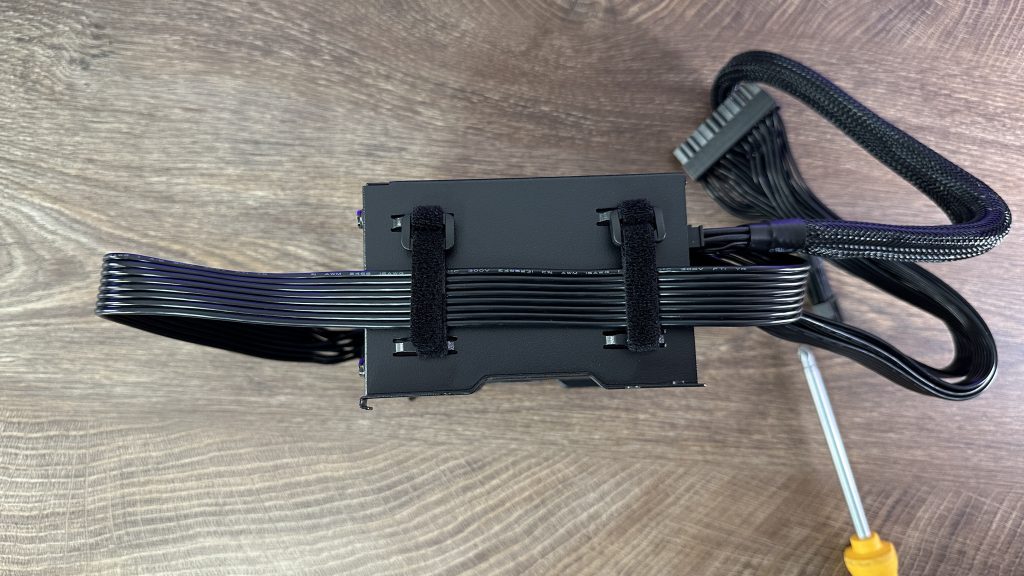
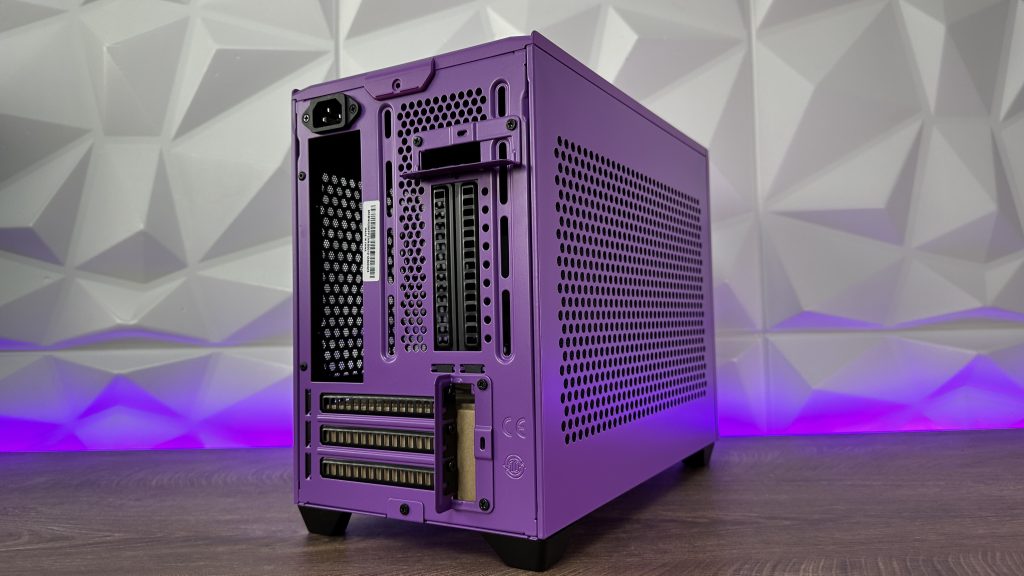
Power for everything… Or all. Cooler Master V1100 SFX Platinum power supply is a small wonder that can really pack a punch giving you enough juice to power up those hungry RTX 40 Series cards. Even though we are not going to the maximu when it comes to RTX 4090, still 1100W is an ok choice for down the line upgrades. Connect the cables that you need. In this situation we connected 24-pin for the motherboard, 8-pin EPS for the processor and 12vhpwr for the GPU. Attach the power supply on the bracket from the NR200p and use those velcro ties that are already on the bracket to re-arrange the cables upfront before you palce the power supply unit inside the case. This will give you an option to easily maneuver the cables inside the case.

You can either go with a motherboard first and the place the power supply later, or viceversa. Whatever suits you best and what you see it is more convenient for you because of the cables. Additionaly, when placing the power supply use those extra two lower velcro ties to tie up all the cables that are dangling beneath it so it doesn’t get in touch with the graphic card. More clearance, nicer build, better cooling and no hot air accumulation.
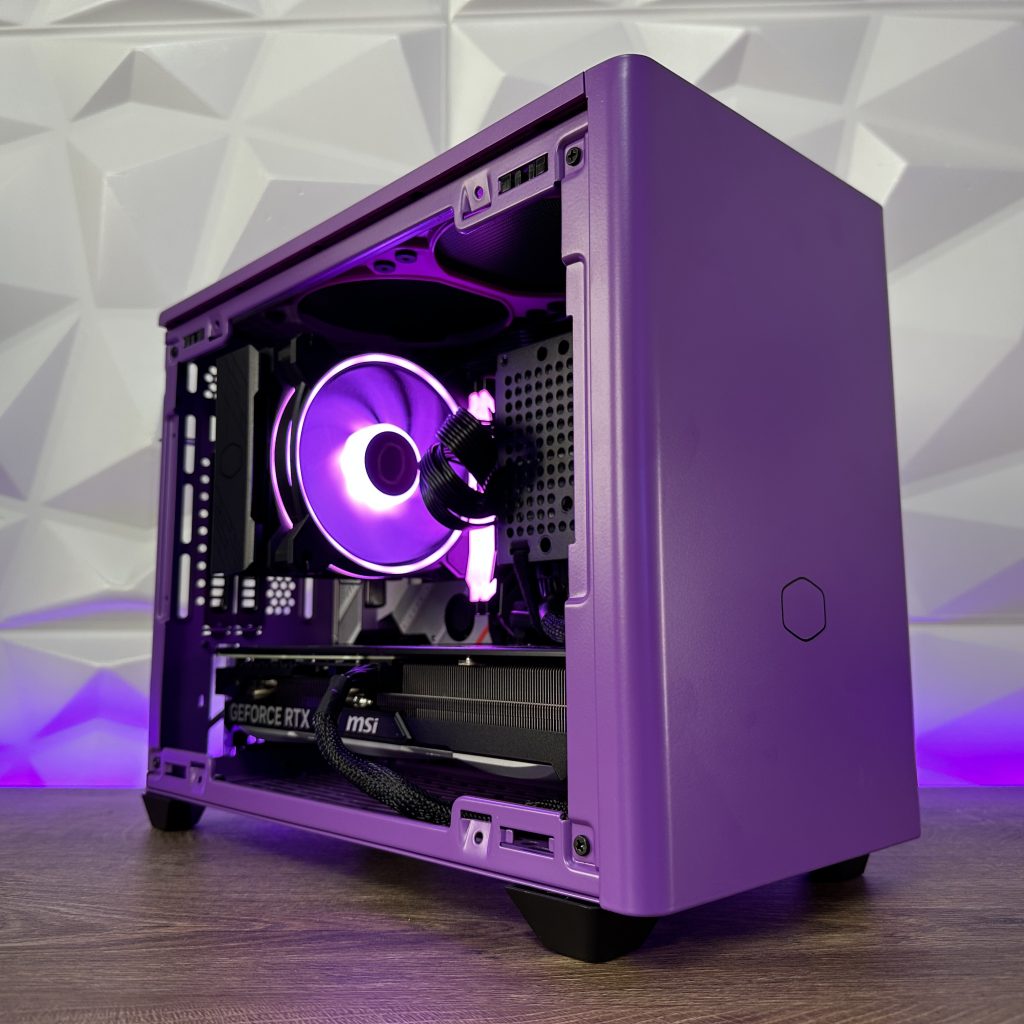
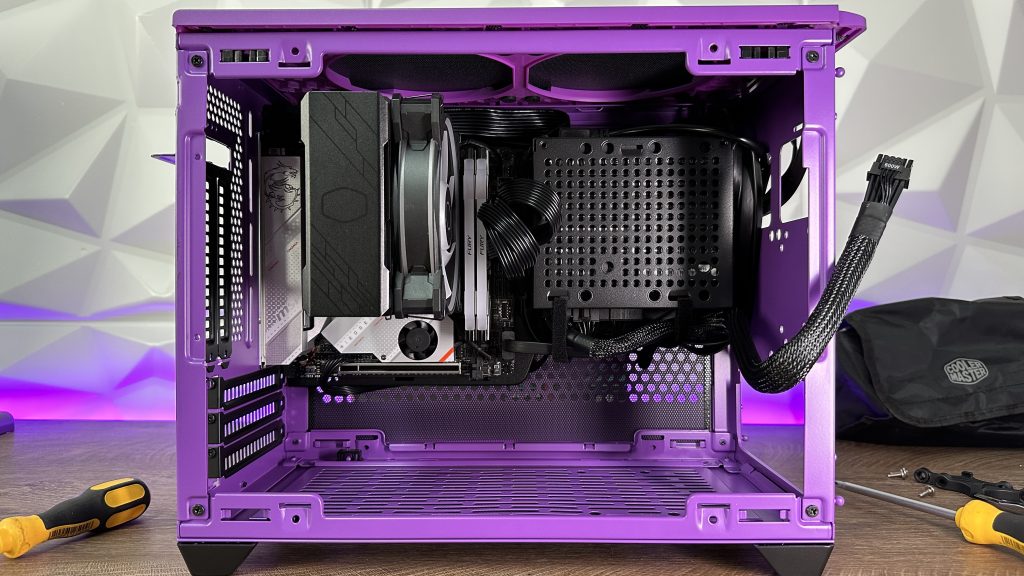
Now it is time for placing the MSI GeForce RTX 4070 Ti VENTUS 3x inside the Cooler Master NR200P and my suggestion is, even though it fits perfectly without problems, be careful so you don’t scratch it. Just in case. The graphic card is placed inside the case through the front panel opening and just slides inside the chassis. After that just place it inside the PCIe slot and connect the 12vhpwr cable until it clicks the second time. That way you will know that the card has been connected properly and you are safe to turn it the computer on.

As you can see from the photo above that the cables coming out of the V1100 SFX Platinum power supply aren’t even touching the graphic card, except the 12vhpwr which doesn’t make any issues of course ince non of the hot parts of the card are in the direct contact of the cable. This way the card gets enough fresh air to be cooled. Comparing the thermals inside NR200P compared to the much bigger case is outstanding.

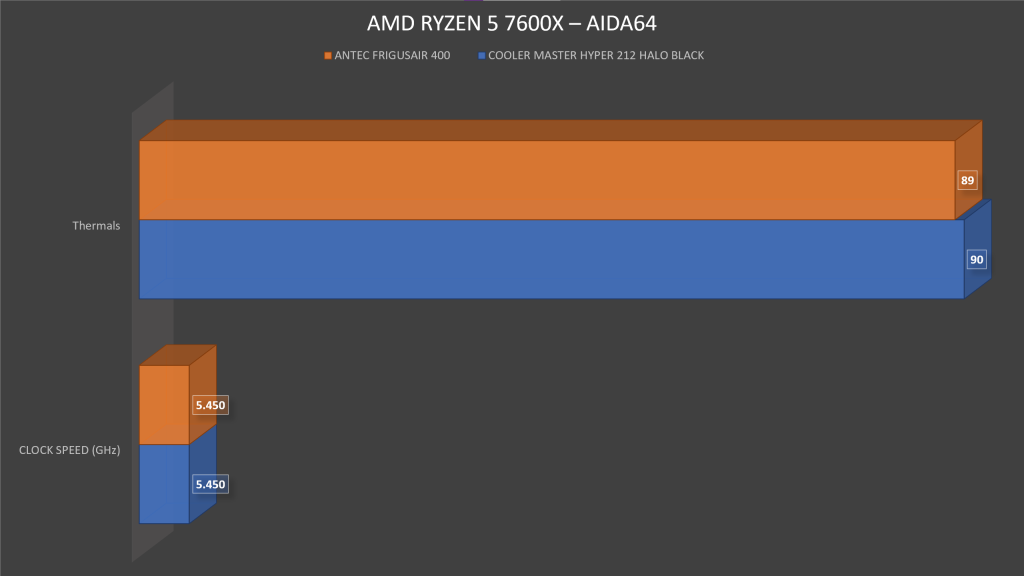
Also, the thermals on the AMD Ryzen 5 7600X with clock speeds are really impressive being cooled only with the Cooler Master HYPER 212 HALO BLACK and no intake or outtake fans.
Of course, we suggest using some intake fans at the bottom and outtake fans at the top if possible for better air circulation and dissipation of hot air.

Additional test was made in Cinebench R23 with constant thermals on the AMD Ryzen 5 7600x being at 90 Degrees Celsius and clock speed going up to 5225MHz.
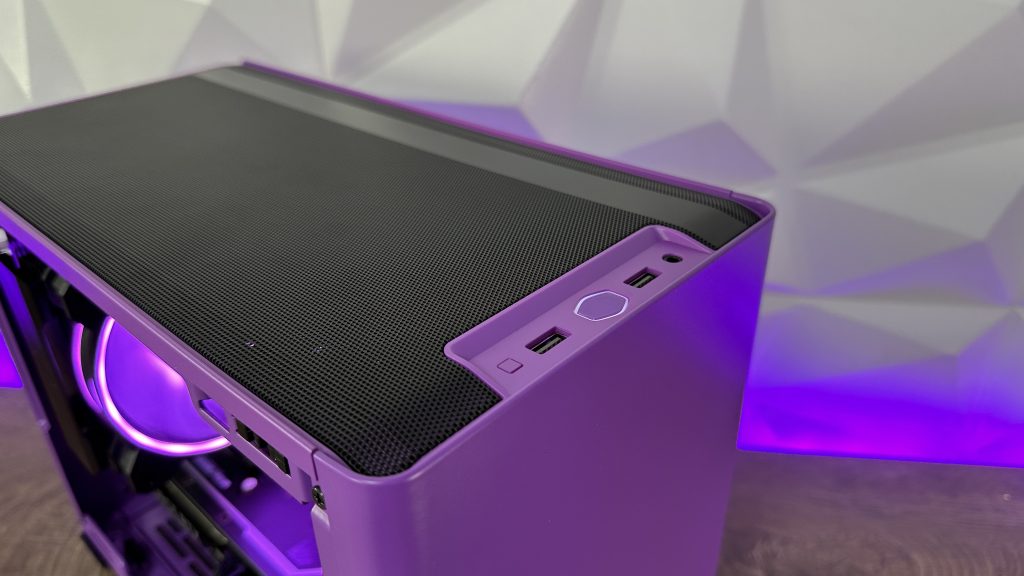
Here are some final shots of the whole project.


Finally, if you wish to check out the video review with possible other details, you can do that here on my YouTube channel: