
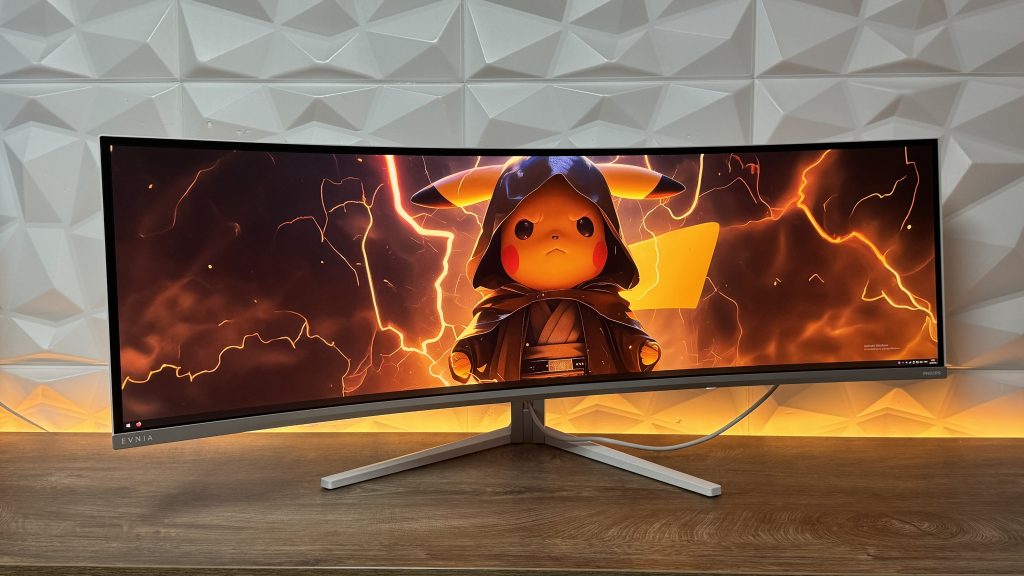
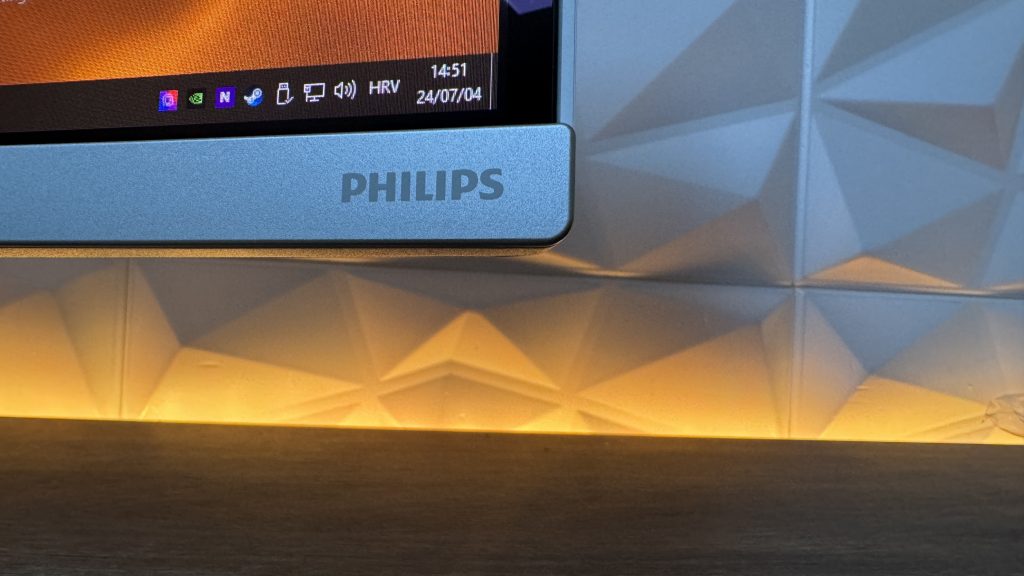
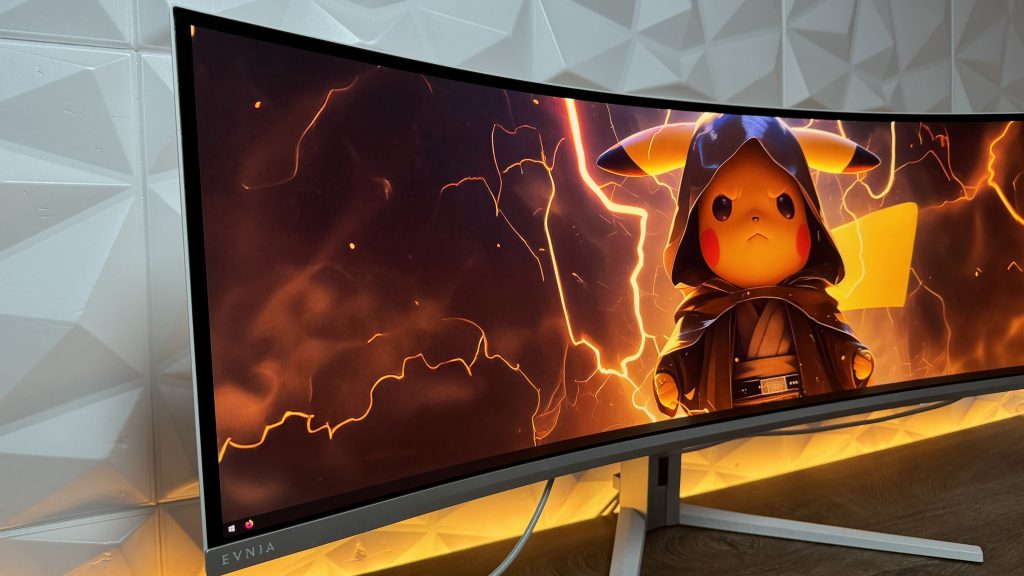
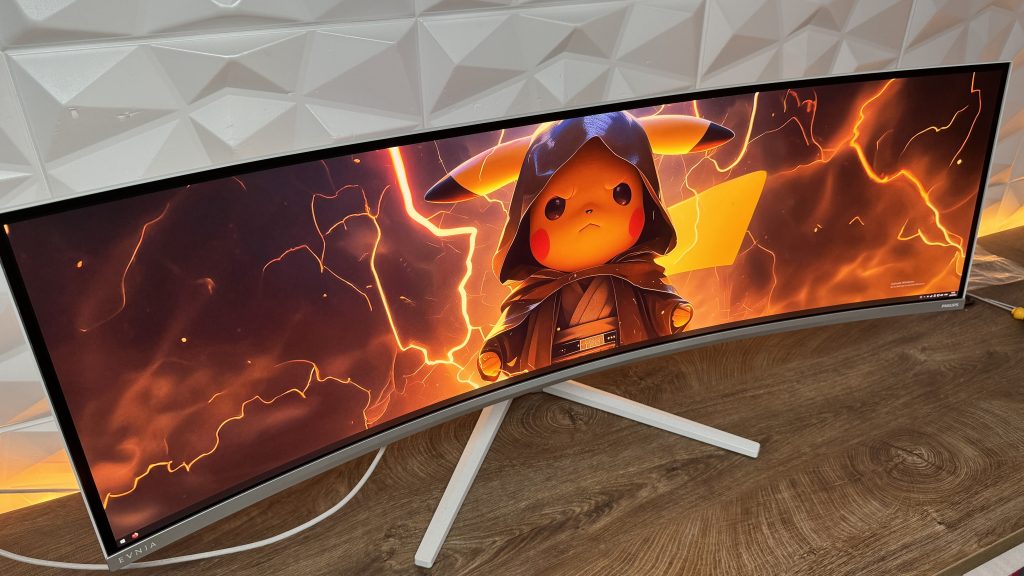
For this monitor review, when you take into consideration the diagonal of 49″ first notice that I would bring up, you really need to have space on your desk because for other metric system, we are talking about 124.3cm. But there is nothing negative about that of course. Today we are talking about Philips EVNIA 49M2C8900L, a bit “slimmer” version of the 49M2C8900 which has 240Hz refresh rate. The 8900L model that we are going to look at has 144Hz refresh rate.
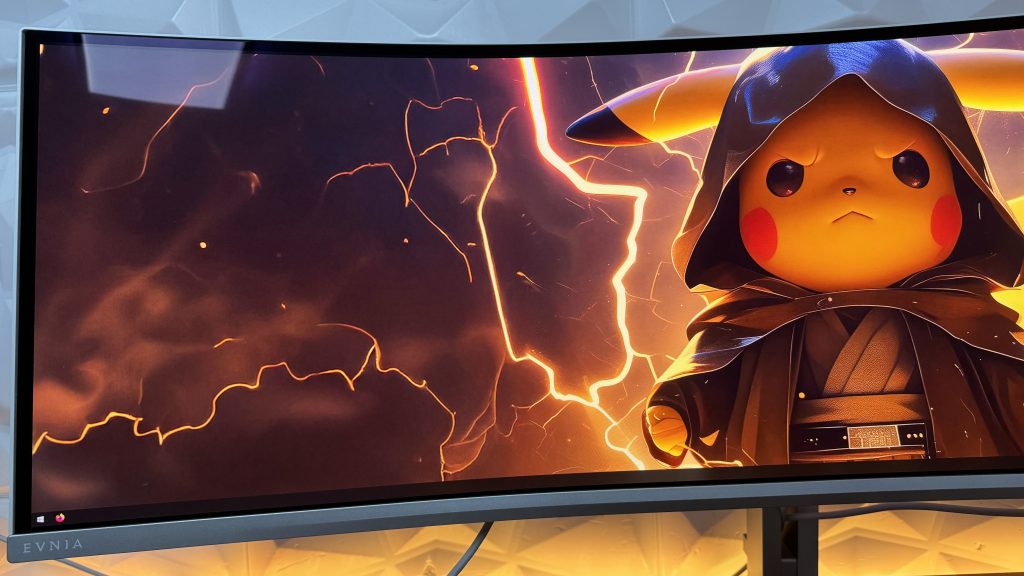
Now both have really colorful QD OLED display, even without any additional tweaking inside the OSD menu with the settings, colors look brilliant in every aspect. Eventually there are some scenarios where we do get warmer and high levels of oversaturation, but nothing that will ruin your experience of this super wide gaming monitor.

Cables, specifications and connections
Starting with some main specification we have:
- 49″ QD OLED display with 32:9 screen ratio in resolution of 5120×1440
- Pixel pitch: 0.233 x 0.233mm
- Curvature: 1800R
- Brightness SDR: 250nits (APL 100%), HDR: 450nits (APL 10%), HDR E/P: 1000nits (APL 3%)
- Color support: 1.07 billion colors (10-bit)
- Color gamut (typical): NTSC 127.4%, sRGB above 143%, Adobe RGB 125.2%
- Color gamut (min.): DCI-P3: 99%
- Contrast ratio (typical): 1,000,000:1
- Response time (typical): 0.03 ms (GtG)
- Viewing angle:178º (H)/178º (V)
- Maximum resolution: 5120×1440 @ 144Hz (DP); 5120×1440 @ 60Hz (HDMI)
- Flicker-free: Yes
- Pixel Density: 108.77PPI
- LowBlue Mode: Yes
- Display Screen Coating: Anti-reflection, 2H
- Low Input Lag: Yes
- Adaptive sync: Yes, AMD FreeSync™ technology Premium Pro, Certified G-Sync Compatible
- HDR DisplayHDR True Black 400 certified
- Ambiglow 3-sided Pixel format RGB Q-Stripe Stark
- Height adjustment: 120mm
- Swivel: -/+ 20°
- Tilt: -5/15°
- Multiview: support for 2x devices with PIP/PBP mode
Accessories inside the box:
- 1x HDMI high-speed cable
- 1x DisplayPort cable
- 1x USB upstream cable
- 1x USB-C to USB-C cable
- 1x Power cable
- 1x Remote Controller
- 2x Batteries for the Remote
- 1x Screwdriver
- 2x Screws for monitor stand mount
- 1x VESA 100×100 mounting plate
- 4x Screws for VESA mounting plate
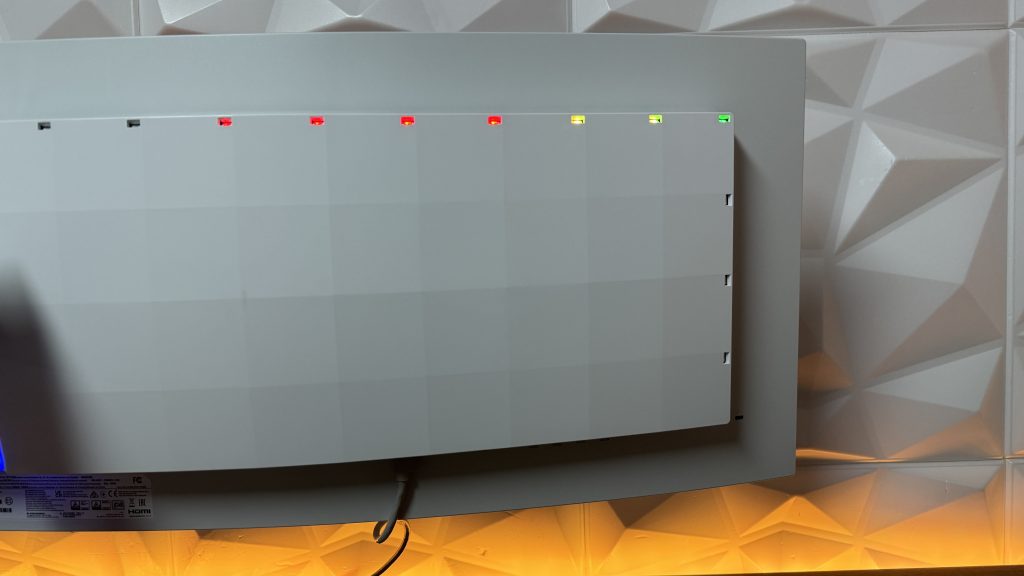
And since we are at listing specification, it is also good to immediately mention the ports and connections which I have to say, quite solid:
- 2x HDMI 2.0
- 1x DisplayPort 1.4
- 1x USB-C (DP Alt mode, Power delivery up to 90W)
- USB 3.2 Gen1 (5Gbps) where we have 1x USB-B upstream and 4x USB-A downstream (of which 2x are for fast charging)
- 1x 3.5mm jack AUDIO OUT
Mentioning audio, the monitor has DTS Sound with 4x 7.5W speakers. Speaker configuration is like this, 7.5W x2 tweeters and 7.5W x2 woofers with flow port. I do have to admit, something really interesting and definitely not your regular monitor speakers.

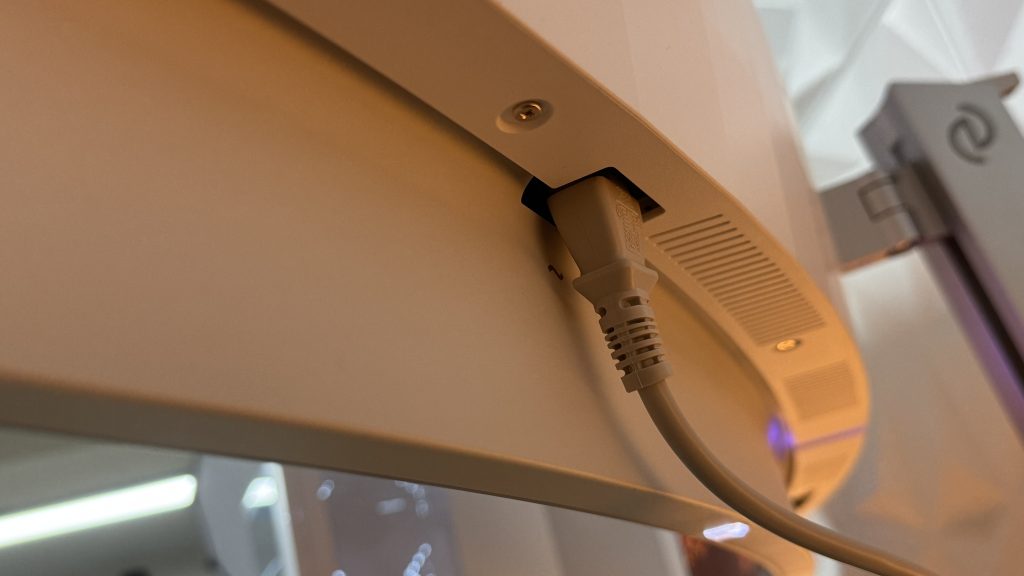
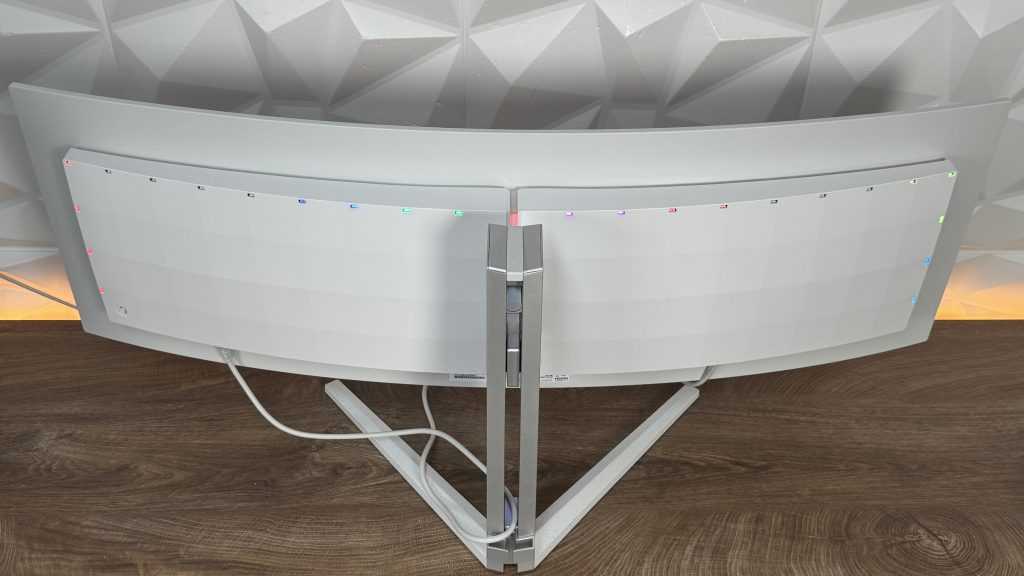
When we take into consideration that we are talking here about 49″ screen, it would be quite logical to place all the connections and ports as close to the middle of the monitor as possible. The reason is very simple. I understand many users buying such screen like to have their personal or even work setups clean as much as possible. Since the power connector is located almost at the far right side and all other connections on the far left side, this brings us to the point where 30-40cm of cables are lost just to cover the back side of the monitor to reach the monitor stand which has a nice middle hole for pushing through those cables, and at the back a cable holder.
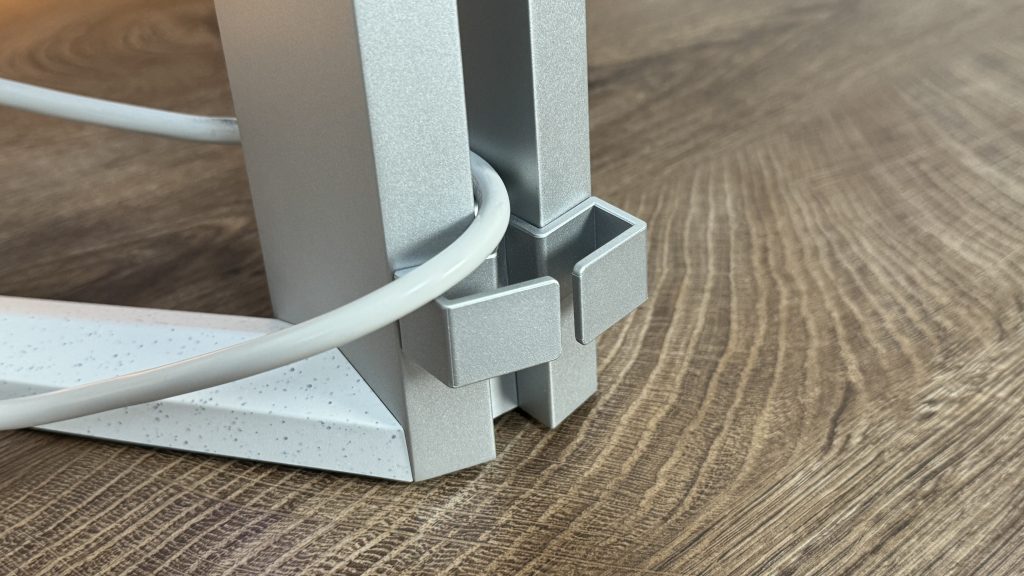
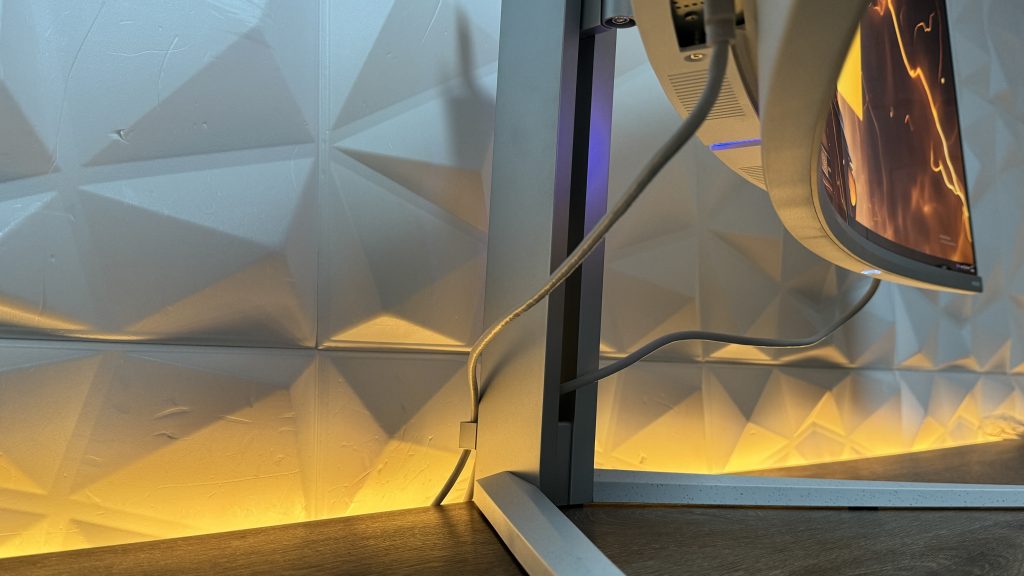
But because of the distance and no additional holders beneath the connections to hold the cables, we have cables freely hanging around until they reach the middle part. The only solution is eaither tie them down somehow to the monitor stand or use some sort of a tape to organise them a bit better. Eventually lowering down the screen to the lowest point, but that would be suitable for everyone. Aesthetically speaking, everything is flawless in terms of the design and then the cables ruin everything for no reason. Fixable, but would have appreciated it if this wasn’t the case.
Unboxing experience
Because of its size, the monitor is carefully packed inside the box, so that only means one thing. You need to be careful and read the notices on the box how are you going to open it. After turning it to the correct side, you will be able to see all the cables that are coming as an accessory, remote controller, Manual and some safety information, screwdriver, 2x screws for mounting the monitor to the original stand, 4x additional screws for the metal plate for mounting the monitor to a VESA Mount 100×100.

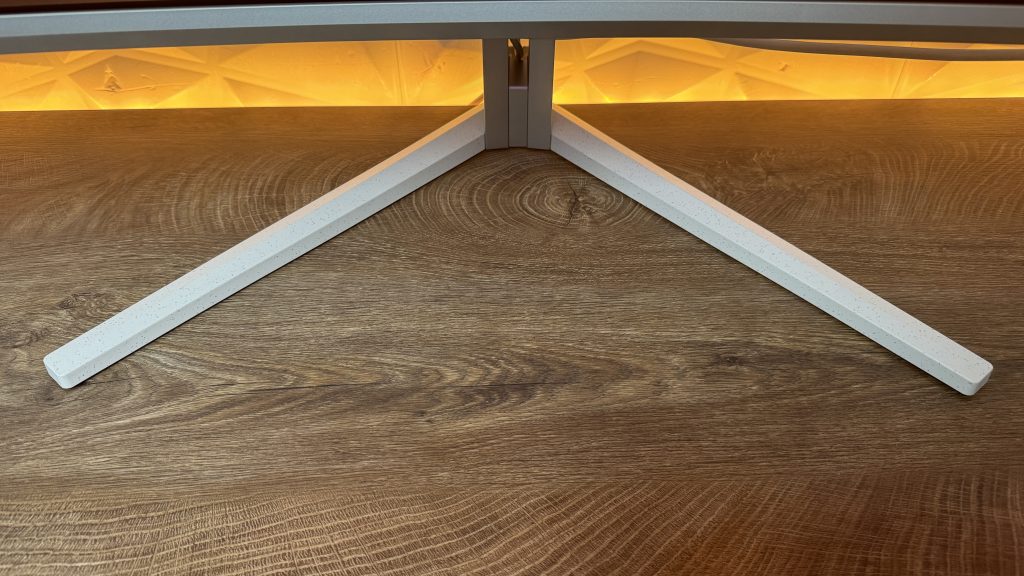
First, you remove the legs from the box, and you attach the versatile stand to it. You honestly don’t even need a screwdriver in this scenario because you can tie up the screw with your fingers easily. Now we are almost set up, so you prepare two screws and a screwdriver. Push in the stand inside the back part of the monitor and tie up those two screws. When pulling out the monitor from the box, you will have to have a lot of strength because the styrofoam will be keeping the monitor in place as well as the foil around the monitor which is somewhat holding the screen in place and safe. Pull out the monitor gently from the box and place it on the table. Next in line, we have the connections, and you are good to go.
Screen and OLED burn in… Solution of some sort!
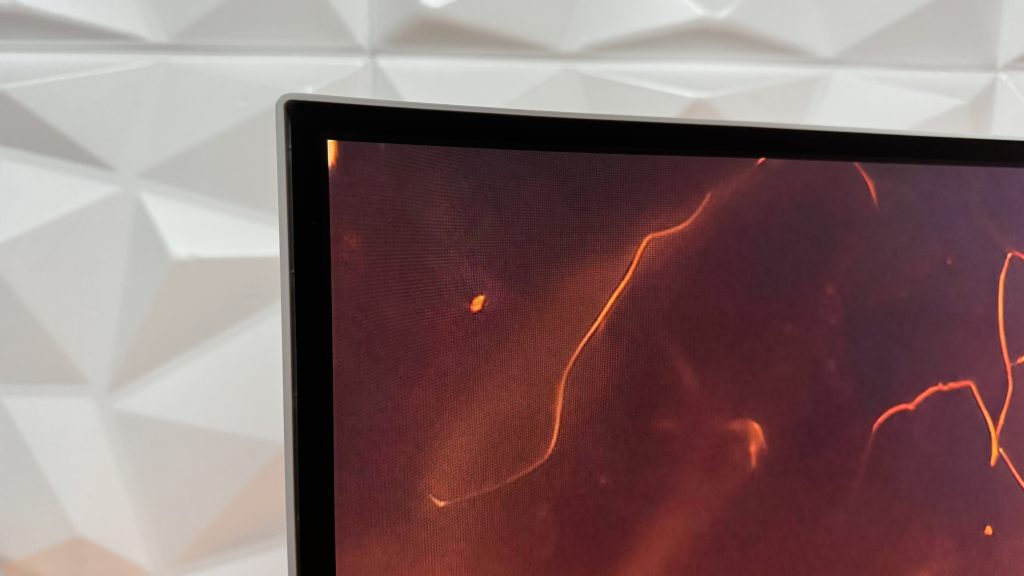
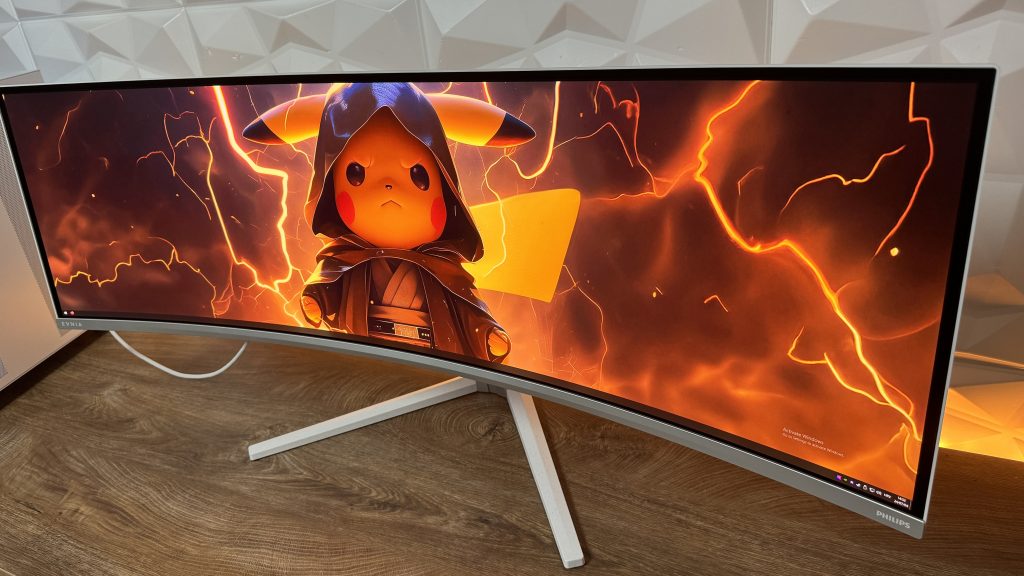
Screen, display looks amazing, but one thing needs to be pointed out and that is the gloss finish on the screen. If you are using this EVNIA 49M2C8900L at your workplace, which is logical that at some point you will turn on the lights in your office. If the reflection hits precisely, you will have a massive reflection on your screen. Now there is a solution, but again not suitable for everyone… Switch off the lights or as most gamers do, game in the dark.
Like any other OLED screen, we might have a burn in on the OLED, but of course that doesn’t happen instantly or out of the sudden. There is a solution for that with this Philips EVNIA because they try to prevent that as much as possible with automatic screen dimming, which is really effective, and can be additionally adjusted in the OSD menu. Also, we have clockwise pixel shift and a 3-year warranty which includes just that. So basically, in those 3 years of warranty if you notice a burn in on the OLED, the warranty claim will be cleared and they will fix it free of charge. This is outstanding because you don’t have to worry about it if it happens… Again, in the warranty period.
Color space and gaming
Luminance is really steady and we have a very wide color gamut exceeding sRGB color space. So sRGB is above 143%, DCI-P3 at 99%, Rec.2020 at 83.2%. As mentioned in the beginning, out of the box the monitor uses 6500k setting which delivers results that are a bit too warm and there are high levels of oversaturation which is actually expected. But taking into consideration colors on the screen, which look incredible, vivid, rich and vibrant.
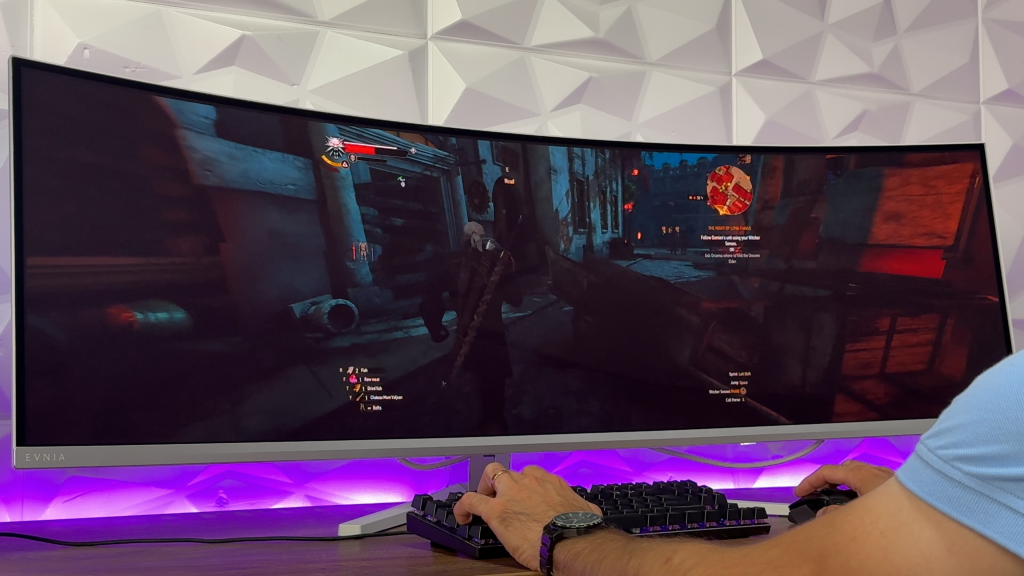
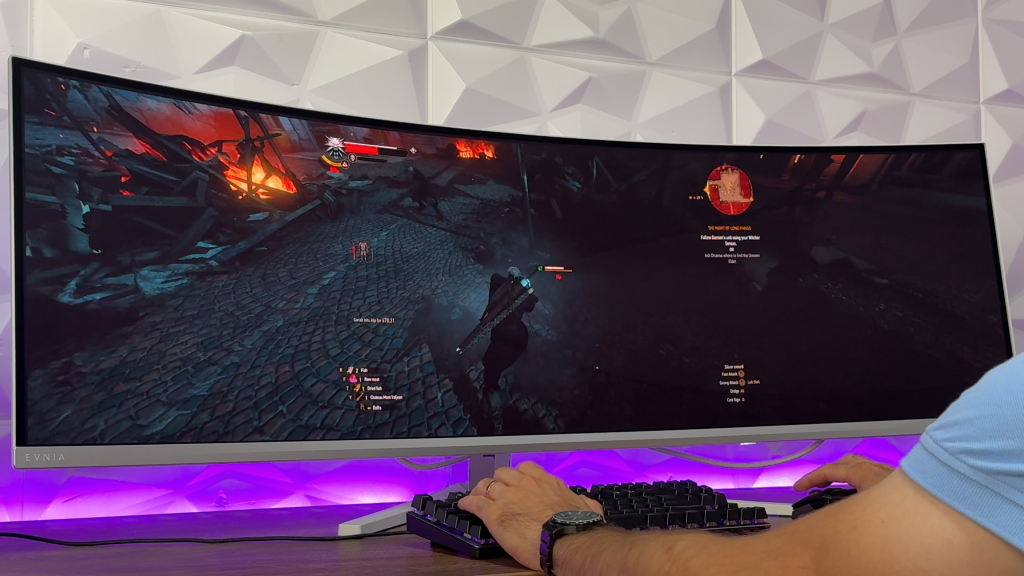
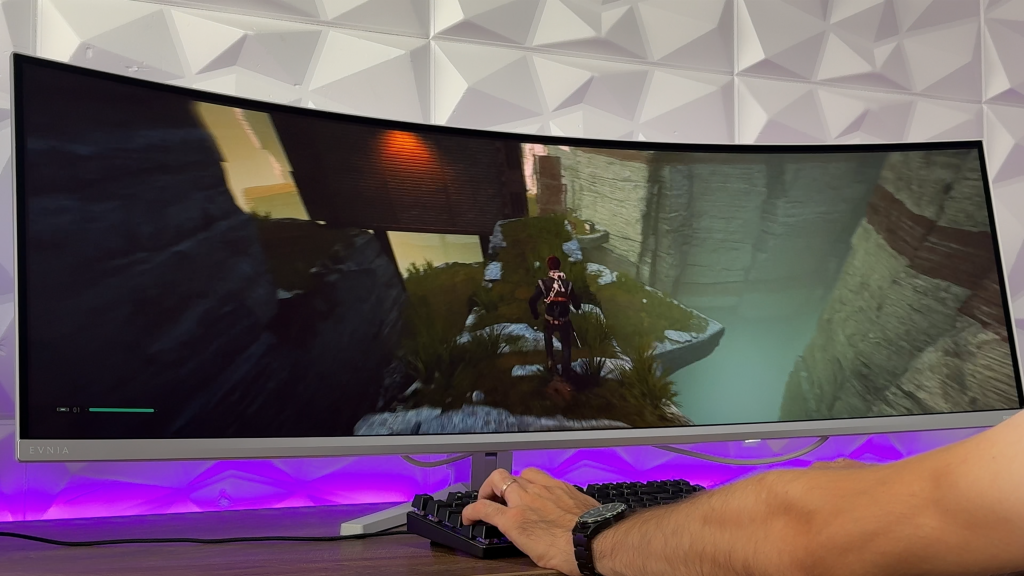
Gaming on the other hand is quite interesting. On this monitor we tested a couple of games because already from them we got all the necessary information we needed to make a conclusion. So, some cut-scenes are in 16:9 so you will have some black parts on left and right side until the cut-scene finishes. Nothing drastical or something to worry about because it is ONLY the cut-scenes, but we understand some of you would really enjoy the full immersion and space of the screen. But going back to gaming, we played The Witcher III: Next Gen, Need For Speed Heat, Star Wars: JEDI – Fallen Order and Starfield.
The Witcher III: Next Gen was surprisingly good even in those dark areas of gameplay, which was and still is quite fascinating, but then we head over to Star Wars: JEDI – Fallen Order and imagine going into some caves and you end up being lost because you can’t see a thing. We do think this is fixable and can be eventually adjusted, but when we compare the similar scenes in The Witcher III where we literally had no problems. This might need a preset for certain games to be able to fix the dark areas in the maps.

Need For Speed Heat was used only because of the rich colors, shiny cars and motion blur at high speeds of the car and that really did impress us. From the color space that was insane with unbelievable clarity, to actual accuracy. It is very impressive how the image looked while playing that game.


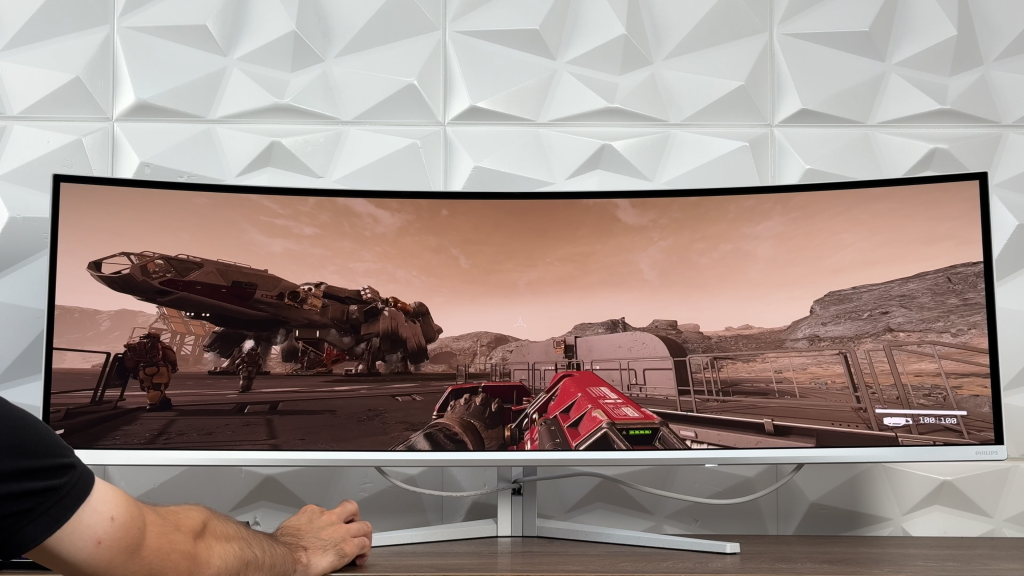
Finally, we visit STARFIELD where we can say only one thing. This is bad. We don’t think there is a problem with the monitor, but in STARFIELD in 32:9 or 5120×1440, we don’t get a picture evenly spread across the screen. Infact, we have the fisheye distortion which could have been avoided. Now of course, if you don’t play any of these games, you are either fine with those or you don’t play any of these.
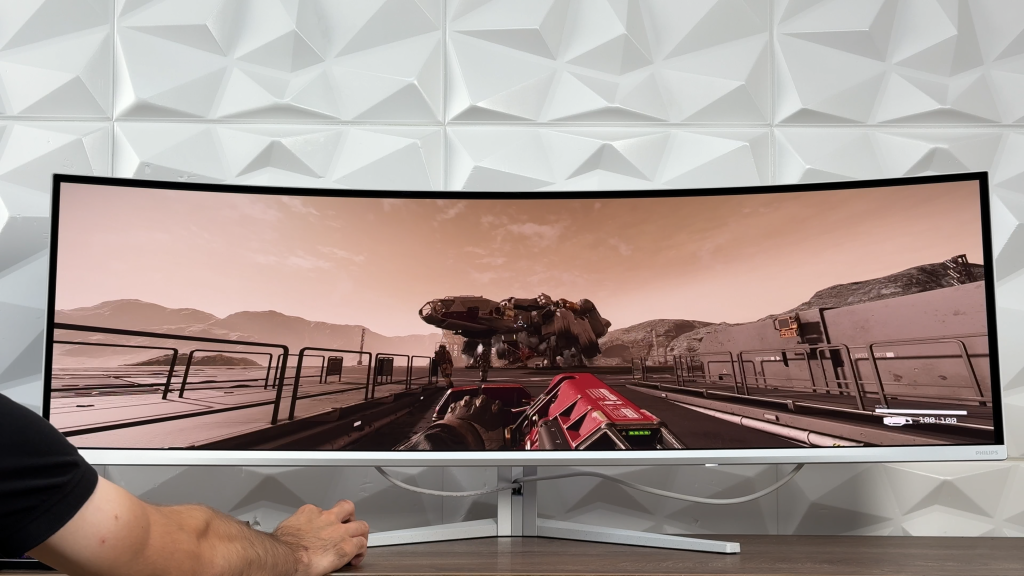
In general talking about gaming experience on Philips EVNIA 49M2C8900L is remarkable. Not only because of the rich and vibrant colors because it does enhance the gaming experience but also because of the smoothness and pure enjoyment because of the screen size. Then we go to the other point, where in some games (and I have to point out, only in some games), dark areas are way to dark, while the fish-eye distortion in STARFIELD would definitely bother some of you. Just a heads up.
We also have a very well setup HDR screen with peek brightness at 1000nits, but HDR gaming needs some sort of a firmware update for better HDR accuracy. Hopefully, that can be fixed in some period of time to make this monitor quite epic with almost everything going nicely together.
Final word(s)
Let’s first separate the pros and cons!
Pros:
- Insane size of 49″ with QD OLED display and very attractive resolution
- Very well setup HDR screen with 1000nits peek brightness
- Very wide color gamut, rich and vibrant colors
- KVM switch, PBP/PIP mode
- OSD menu with useful information like working time and pixel refresh
- Automatic Screen Dimming and clockwise pixel shift
- 3-year Warranty (covers burn in)
Cons:
- Philips Smart Control needs work
- Out of the box settings a bit too warm
- High levels of oversaturation
- STARFIELD has fish-eye distortion (more to the game than actual monitor)
- HDR gaming needs firmware update for HDR accuracy
All in all, what we can say is, even with these cons, the Philips EVNIA 49M2C8900L is outstanding. We mentioned everything why we love it, and regarding the 49M2C8900 with 240Hz, you will have to decide if it is worth for you to spend an additional €200 for it. Of course, it all depends on the location where you are buying it because for instance on Amazon the prices are almost the same, while this model could be found for €950-990 which is for this type of monitor, a bargain.
If you wish to grab one for yourself, here is the link to my Amazon Affiliate:
►PHILIPS EVNIA 49M2C8900L (144Hz): https://geni.us/4HBU
►PHILIPS EVNIA 49M2C8900 (240Hz): https://geni.us/03BiG
And finally, if you are not a person who likes to read, you can watch my video review on my official YouTube channel. Enjoy!